Upper Limit = Basic Size +ES = 50+0.025=50.025
Lower Limit = Basic Size + EI = 50+0.002 = 50.002
2) Limits of 50 mm hole is ES=+0.025 and EI =+0.002 mm. The maximum and minimum hole sizes will be:
Max. 50.025 mm ; Min. 50.002 mm
Related Limits and Fits MCQ - Turner (Set-1) with Answers
21 classes of fits and 16 grades of tolerances
British standard limit system consists of 21 classes of fits and 16 grades of tolerances.
25.00 mm
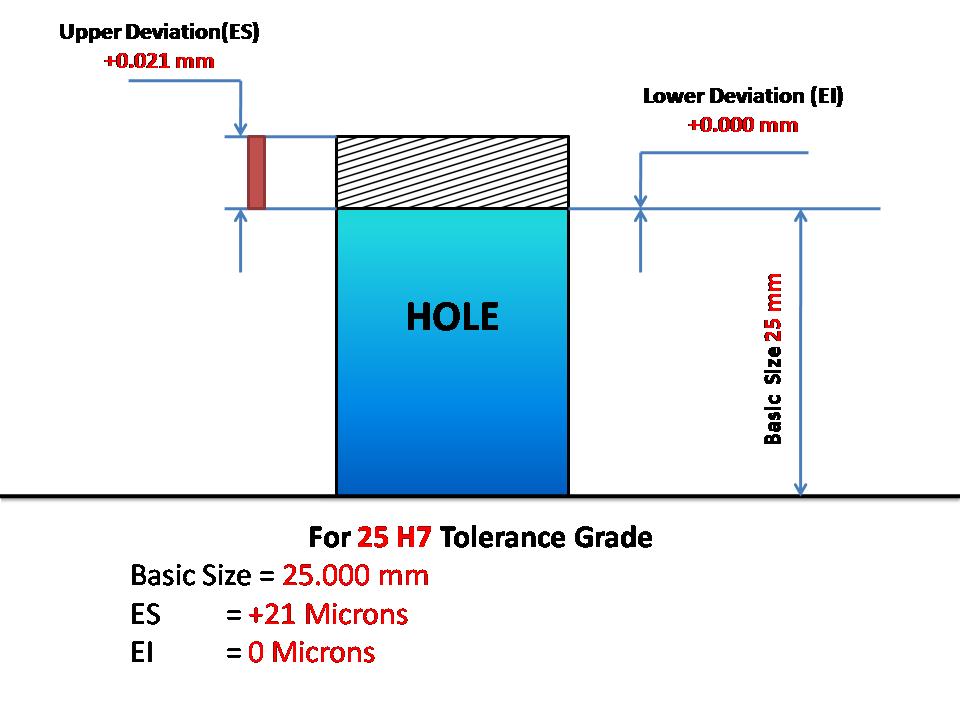
A dimension is stated as Dia 25 H7 in a drawing. The lower limit is 25.00 mm.
For 25 H7 Tolerance Grade
Basic Size = 25.000 mm
ES = +21 Microns = 0.021 mm
EI = 0 Microns = 0.000 mm
Hence
Lower limit = Basic Size + EI = 25.000 + 0.000 = 25.000 mm
Upper Limit = Basic Size + ES = 25.000 + 0.021 = 25.021 mm
Hence A dimension is stated as Dia 25 H7 in a drawing. The lower limit is 25.000 mm.

0.04 mm
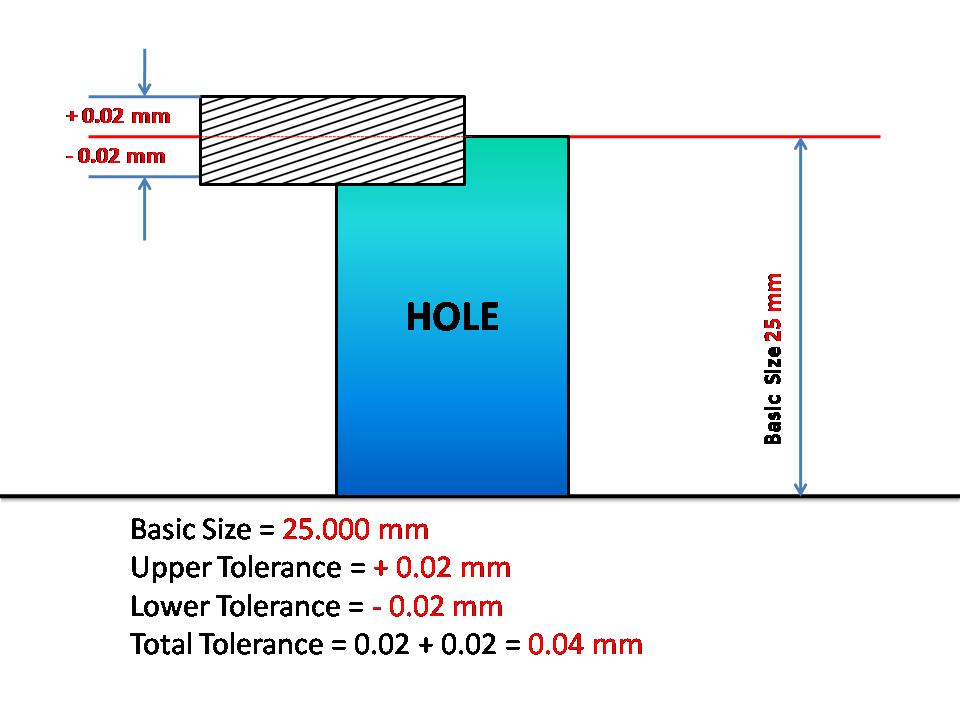
A dimension is stated as 25 +/-0.02 mm in a drawing. Then
Basic Size = 25.000 mm
Upper Tolerance = + 0.02 mm
Lower Tolerance = - 0.02 mm
Total Tolerance = 0.02 + 0.02 = 0.04 mm

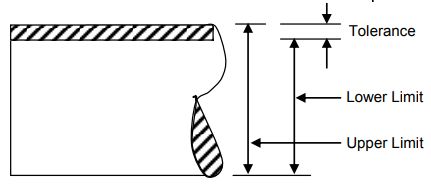
Tolerance
Tolerance is defined as the difference between the maximum and the minimum sizes allowed in manufactured components.
