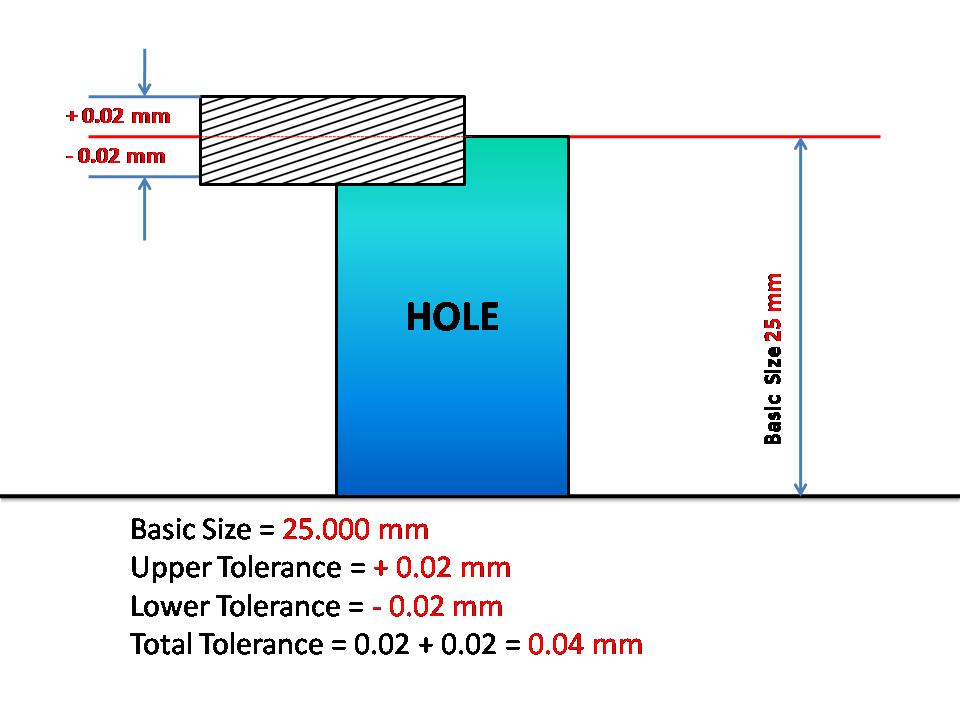
A dimension is stated as 25 +/-0.02 mm in a drawing. Then
Basic Size = 25.000 mm
Upper Tolerance = + 0.02 mm
Lower Tolerance = - 0.02 mm
Total Tolerance = 0.02 + 0.02 = 0.04 mm
5) A dimension is stated as 25 +/- 0.02 mm in a drawing. What is the tolerance ?
0.04 mm

Related Limits and Fits MCQ - Turner (Set-1) with Answers
Tolerance
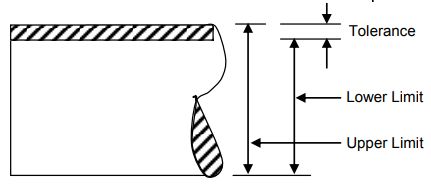
Tolerance is defined as the difference between the maximum and the minimum sizes allowed in manufactured components.

Actual size
The measured size of the dimension of a component is called Actual size.
Interference fit
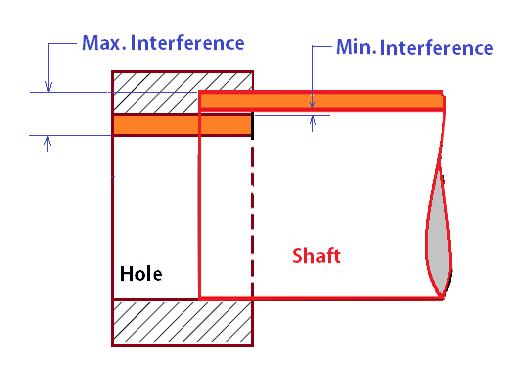
If the tolerance zone of the pin is entirely above of that hole, then the fit obtained is called as interference fit.
Interference Fit Interference fit is defined as the fit established when a negative clearance exists between the sizes of the holes and the shaft. In Interference fit, the minimum permitted diameter of the shaft is larger than the maximum allowable diameter of the hole.
Examples for Interference Fit are: Bearing bushes, small end in the connecting rod.

Mass production
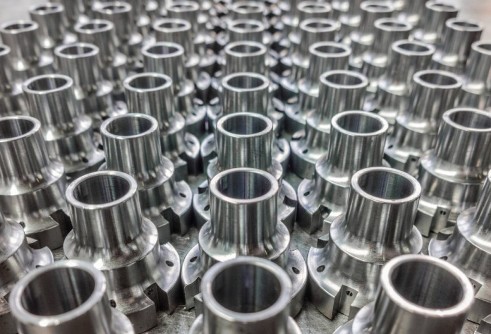
Interchangeability is normally applied for Mass production.
Interchangeability occurs when one part in an assembly can be substituted for a similar part which has been made to the same drawing.
Suppose there are 100 parts each with a hole, and 100 shafts which have to fit into any of the holes. If there is interchangeability then any one of the 100 shafts should fit into any of the holes and the required kind of fit can be obtained.
Hence, for the interchangeability of holes and shafts, we need a system of limits and fits which gives standard values for the limits on the hole and shaft, so that any particular type of fit can be obtained.
Interchangeability is possible only when certain standards are strictly followed.
In universal interchangeability the mating parts are drawn from any two different manufacturing sources. Universal interchangeability is desirable and to achieve this all standards used by various manufactures should be traceable to a single source which will be an international standard.
When all parts to be assembled are made in the same manufacturing unit,then local standards may be followed which is known as local interchangeability.
The required type of fit in an assembly can be obtained either by universal or full interchangeability or by selective assembly.
